How to Paint Kitchen Cabinets: The Professional Spray Finishing Process
If you’re researching how to paint kitchen cabinets, you’ll find plenty of DIY guides suggesting a brush, a roller, and a weekend. That approach can work. But if you want a finish that looks like it came straight from the factory — no brush marks, no roller texture, no peeling in two years — professional kitchen cabinet spray painting is a different process entirely. Here’s exactly how we do it at Ultimate Décor, and why each step matters.
Why Preparation Makes or Breaks the Finish
I’ve been doing this since 2004. The single biggest factor in how good a sprayed kitchen looks isn’t the paint — it’s the prep. Cut corners here and the best topcoat in the world won’t save you.
Step 1: Removing and Labelling Doors
Every cabinet door and drawer front comes off. Each one is labelled before it leaves its hinges. That matters more than it sounds — kitchen cabinets aren’t always interchangeable, and getting the wrong door back in the wrong place creates fitting problems later.
The doors are taken to our dedicated off-site spray workshop. Working off-site gives us a controlled environment: consistent temperature, no dust from the kitchen itself contaminating wet paint, and the ability to spray both sides properly. You don’t need to empty your cupboards. The carcasses stay exactly as they are.
Step 2: Surface Preparation
Before any paint goes on, every door is assessed. Chips, dents, and imperfections are filled and flatted back. Existing surfaces are degreased and sanded to create the right mechanical key for the primer. This is the unsexy part of the job. It’s also where most of the work happens.
The Spraying Process: Primer, Build Coats, Topcoat
Step 3: Adhesion Primer
We apply a specialist adhesion primer to all doors and drawer fronts. This isn’t a standard undercoat — it’s formulated to bond to existing surfaces, including MDF, wood, vinyl wrap, and previously painted finishes. We use water-based, low-VOC products throughout. Better for the environment, better for your home, and they perform.
We work with professional-grade coatings — the kind used by Tikkurila and similar specialist manufacturers — not trade paint from a builders’ merchant.
After priming, every door is sanded again by hand. That inter-coat flatting removes any raised grain or dust nibs before the build coats go on.
Step 4: Masking the Kitchen
While the doors are progressing in the workshop, we prepare the kitchen itself. Worktops, walls, flooring, appliances — everything that isn’t being sprayed gets masked and protected. Spray painting in situ means overspray control is non-negotiable. We treat your kitchen as carefully as we treat the finish we’re applying to it.
Step 5: Spraying the Carcasses
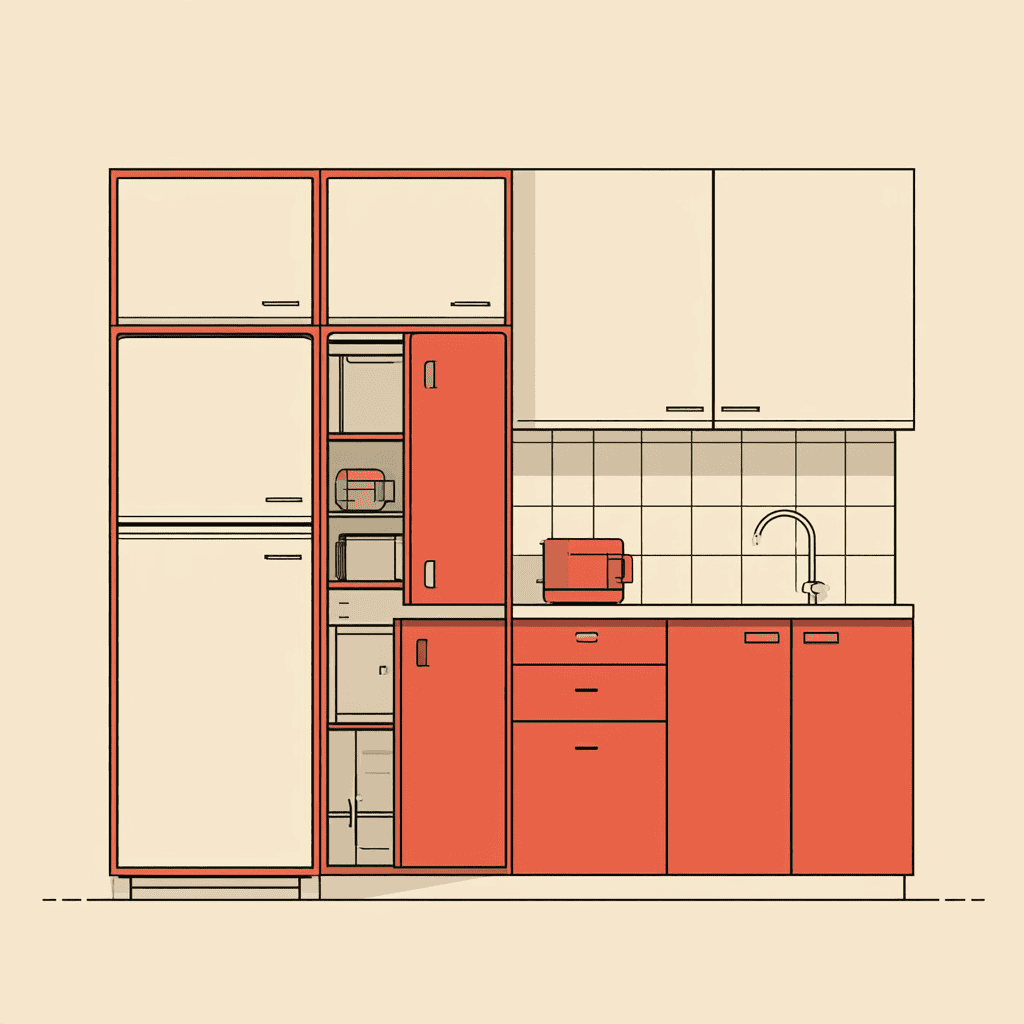
The cabinet carcasses are sanded, primed, and sprayed in place. The same adhesion primer goes on, followed by topcoats in your chosen colour. We can match any Farrow & Ball shade or any standard RAL/BS colour — the colour choice is yours entirely.
Final Coats, Inspection, and Reassembly
Step 6: Final Topcoat and Quality Check
Before the final coat goes on, every surface is checked. Any marks, dust inclusions, or uneven areas are addressed first. Then the final topcoat is applied. The result is a hard, smooth, even finish with no brush marks or roller stipple — because there are no brushes or rollers involved.
This is what professional spray finishing delivers. It’s the same principle used in factory cabinet production. We’re bringing that process to your existing kitchen.
Step 7: Reassembly
Doors go back on in the positions they came from — which is why the labelling in Step 1 matters. Handles are refitted. The kitchen is unmasked, cleaned down, and handed back to you. The whole process typically takes around five days from start to finish.
What You Get at the End
- A factory-quality spray finish — smooth, hard-wearing, no brush marks
- Your choice of colour, including Farrow & Ball matching
- A 10-year guarantee on the finished work
- Low-VOC, water-based coatings throughout
- City & Guilds qualified spray painters
- No need to empty cupboards or vacate the kitchen entirely
Is It Worth It Compared to Replacing the Kitchen?
New kitchens cost serious money. A professional respray costs a fraction of that and — done properly — produces a finish you can’t tell apart from new. We’re not the cheapest option and we don’t try to be. We’re the best option for homeowners who want quality that lasts. You can read independent reviews on Checkatrade to see what our customers say.
If you want to see what we do and how we work, visit our Surrey spray painting service page or call us on 0203 355 1495. We cover Surrey and South London and we’re happy to talk through your kitchen before you commit to anything.
Frequently Asked Questions
How long does professional kitchen cabinet spray painting take from start to finish?
Most kitchen respray projects take around five days. That includes removing and labelling the doors, off-site spraying in our workshop, in-situ spraying of the carcasses, and full reassembly. The exact duration depends on kitchen size and any additional prep required.
Do I need to empty my kitchen cupboards before the spray painters arrive?
No. The carcasses stay in place and the doors are removed from outside the cupboards. Your cupboard contents don’t need to be touched. We mask everything around the carcasses before spraying begins.
What kind of paint is used for professional kitchen cabinet spraying, and how durable is it?
We use water-based, low-VOC specialist coatings applied over an adhesion primer. The finish is harder and more durable than anything achievable with a brush or roller, and we back it with a 10-year guarantee. The combination of proper preparation, correct primer, and quality topcoat is what makes it last.