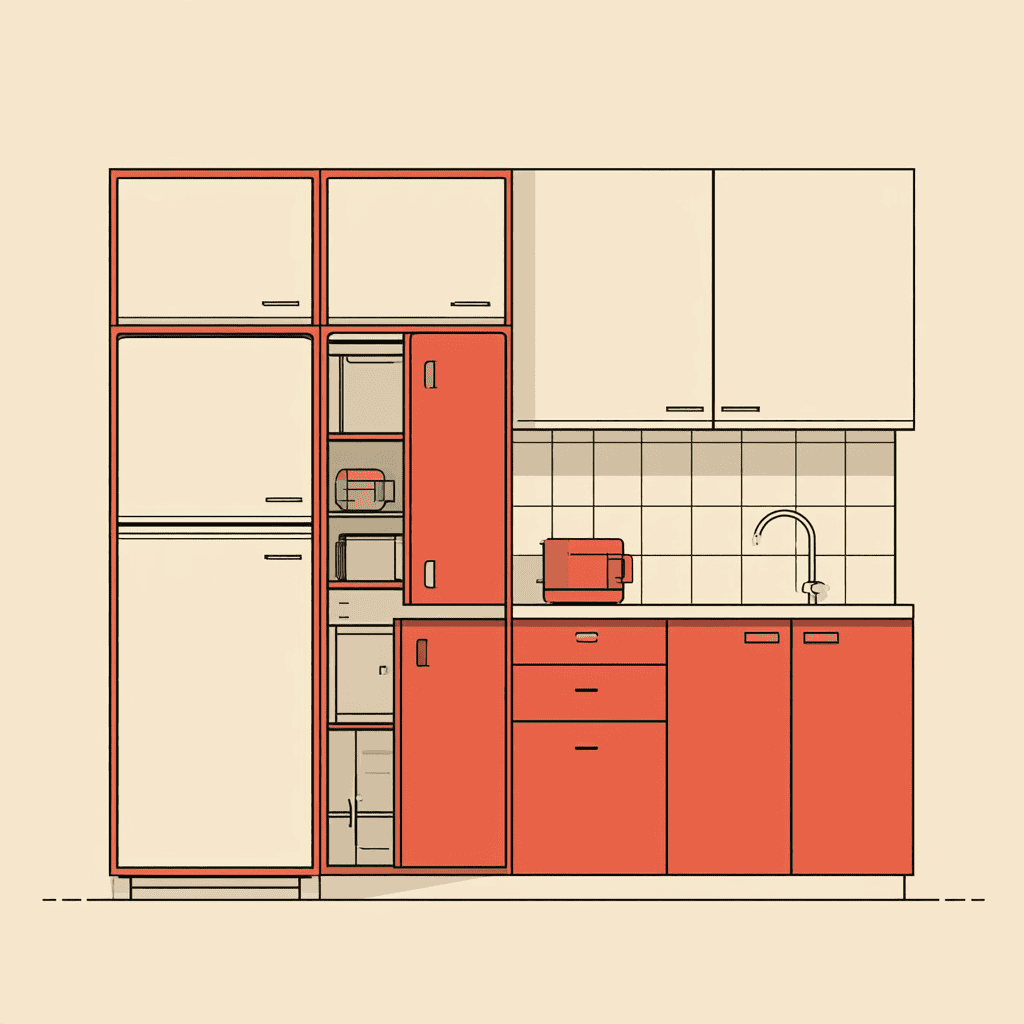
What Goes Into a Professional Kitchen Respray?
Most people picture professional kitchen respray work as a quick coat of paint and job done. The reality is very different. A proper kitchen respray is a multi-stage process — and it’s the preparation work that separates a finish that lasts a decade from one that starts peeling within a year. Here’s exactly what we do at Ultimate Décor, and why each step matters.
Why Preparation Makes or Breaks a Kitchen Respray
I’ve been spray finishing kitchens since 2004. The number one reason respray jobs fail — whether ours or anyone else’s — is poor preparation. Paint won’t bond to a greasy, dusty or poorly sanded surface. It looks fine for a few months, then starts to lift at the edges or chip at the first knock. We don’t cut corners on prep. It’s not glamorous work, but it’s where the quality is built.
Step 1: Doors Come Off and Go to Our Workshop
On day one, we remove every cabinet door and drawer front. They go to our off-site spray workshop, where we apply a controlled, dust-free factory finish. Not every company works this way — but it’s the right way. You simply cannot achieve the same result spraying doors in situ. The workshop environment gives us consistent conditions and means the finish on every door is uniform.
Step 2: Thorough Cleaning and Degreasing
Kitchen surfaces accumulate years of grease, moisture and cooking residue. Before anything else goes on, every surface is cleaned and degreased properly. Skip this step and the paint has nothing solid to key to. It’s the kind of preparation that doesn’t show in photographs — but it shows up years later in whether the finish holds.
Step 3: Sanding and Surface Preparation
All surfaces are sanded back to create the right profile for adhesion. Any filler work, minor repairs or imperfections are dealt with at this stage. We want a perfectly smooth substrate before a single drop of primer goes on. This is where time-served experience makes a real difference — knowing what needs attention before it becomes a problem under the topcoat.
Step 4: Priming the Right Way
The right primer for the substrate makes a significant difference to long-term durability. We use Tikkurila professional-grade coatings — well-tested products used across the industry for their adhesion and durability. Carcasses are primed in situ; doors are primed in the workshop. Then everything is lightly sanded again before the topcoats go on.
Step 5: Spray Finishing — a Factory-Quality Result
Once primed, we apply the topcoats by spray. Because we spray rather than brush or roll, the finish is completely smooth — no brush marks, no roller texture, no visible strokes. What you get is a consistent, even coat across every surface. It genuinely looks like the kitchen came out of a factory. That’s not an accident — it’s the result of the right equipment, the right products and two decades of refined process.
We use low-VOC, water-based paints throughout. Better for your home, better for the environment, and they cure to a hard, durable finish built for daily kitchen use.
Step 6: Colour Matching and Final Checks
We can match virtually any colour — including the full Farrow & Ball range. Before we leave, every door is rehung, every drawer front is refitted, and we walk through the finished kitchen with you to check everything is exactly right. Our City & Guilds qualified team won’t sign off until it is.
You Don’t Need to Empty Your Cupboards
One thing that puts people off is the disruption. The good news: you don’t need to empty a single cupboard. Because we only remove the doors and drawer fronts — not the carcasses — everything stored inside stays exactly where it is. Most kitchen resprays take around five days from start to finish. A complete transformation without moving house.
How Long Will a Kitchen Respray Last?
Done properly, a very long time. We back every kitchen respray with a 10-year guarantee. That’s not a gesture — it reflects genuine confidence in the materials we use and the process we follow. We’ve been doing this since 2004. Our reputation depends on work that stands up over time, not just on the day we leave.
Is a Kitchen Respray Worth It?
For most homeowners, yes — significantly. A full kitchen replacement is a major project: weeks of disruption, removal costs, new appliances to reconnect and refit. A respray delivers a finish that looks and feels like a new kitchen, in a fraction of the time and at a fraction of the cost. The quality of the end result is what makes it worthwhile. The saving is a bonus.
If you’re considering a kitchen respray in Surrey or South London, we’re happy to talk through your project. Call us on 0203 355 1495 or visit our Surrey spray painting services page to find out more. We’ll give you an honest assessment and a clear quote — no pressure, no waffle.
Frequently Asked Questions
How long does a professional kitchen respray take from start to finish?
Most kitchen resprays take around five working days. Day one is typically door removal and preparation work on the carcasses. Doors are finished in our off-site workshop and rehung once fully cured. The exact timeline depends on the size of the kitchen, but we’ll give you a clear schedule before we start.
Do I need to move out or empty my kitchen while it’s being resprayed?
No. You don’t need to empty your cupboards or vacate your home. We remove the doors and drawer fronts but leave the carcasses in place, so everything inside stays put. We do ask that you have access to another room for hot drinks and meals while we’re working — kitchen use is limited during the process, but there’s no major disruption to daily life.
What’s the difference between a professional kitchen respray and painting kitchen cupboards yourself?
The difference is in the finish and the longevity. DIY painting — even with good brushwork — leaves marks, texture and uneven coverage that become more visible over time. Professional spray finishing eliminates all of that. We also use specialist primer and topcoat systems designed for kitchen environments: resistant to heat, moisture and daily cleaning. Combined with proper surface preparation, that’s what delivers a finish that lasts years rather than months.