What preparation is needed before kitchen cabinets are resprayed?
Kitchen cabinet respray preparation is, without question, the most important part of the entire job. Get it right and you end up with a factory-quality finish that lasts for years. Cut corners on it and even the best paint in the world will peel, chip, or look uneven within months. I’ve been doing this since 2004, and I can tell you: the finish is only ever as good as the prep underneath it.
Here’s exactly what proper preparation involves — and why each step matters.
Why Preparation Makes or Breaks a Kitchen Respray
Paint doesn’t stick well to grease, dust, or damaged surfaces. Kitchen cabinets accumulate years of cooking residue, cleaning product build-up, and general wear. If you spray over that without addressing it first, the coating lifts. It’s that simple.
At Ultimate Décor, our preparation process is thorough and well-tested. It’s a big part of why we back our work with a 10-year guarantee. That guarantee isn’t possible without serious prep.
Step-by-Step: How We Prepare Kitchen Cabinets Before Respraying
1. Doors Come Off and Go to Our Workshop
We remove every door and drawer front and take them to our dedicated spray workshop. This is non-negotiable for us. Spraying doors on-site in a domestic kitchen introduces dust contamination and limits our ability to coat all edges properly. In a controlled workshop environment, we can apply finish to all surfaces evenly, and we can let each coat cure correctly before the next goes on.
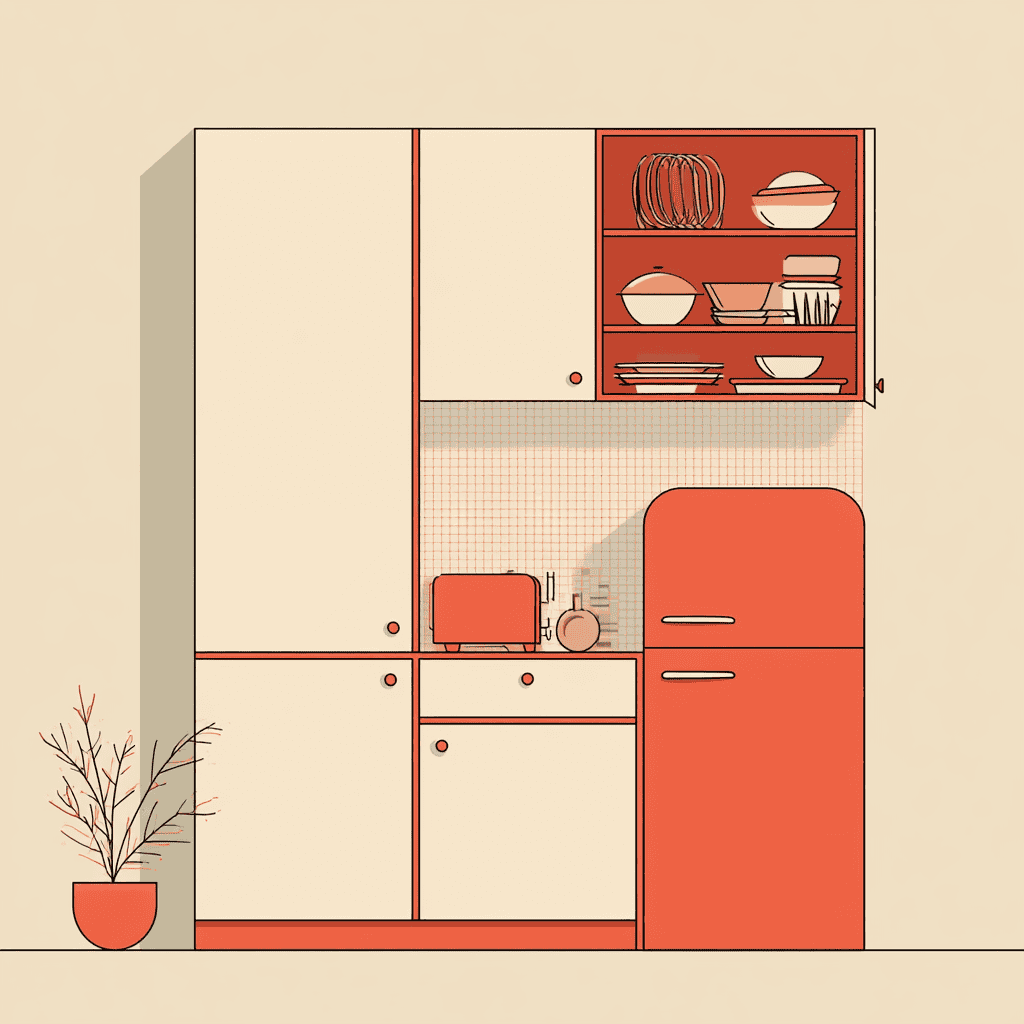
The carcasses — the frames and boxes left in your kitchen — are sprayed in situ. You don’t need to empty your cupboards. Everything stays where it is.
2. Deep Cleaning to Remove Grease and Residue
Every surface gets cleaned thoroughly before any abrasion or priming begins. We’re removing years of airborne grease, silicone residue from previous sealants, and any cleaning product film. We use specialist degreasers, not general household cleaners. This stage is unglamorous but critical. Any contamination left on the surface will compromise adhesion.
3. Sanding and Abrading the Existing Finish
Once clean and dry, every surface is abraded. This creates a mechanical key — tiny scratches the primer and paint can bond to. Without it, paint sits on top of a surface rather than bonding with it. The level of sanding required depends on the existing finish: lacquered MDF, vinyl-wrapped, solid wood, and previously painted surfaces all respond differently and need to be read and treated accordingly.
Our team is City & Guilds qualified. Knowing how to prepare different substrate types correctly is part of what separates specialist spray painting from a general repaint.
4. Filling, Sanding, and Repairing Damaged Areas
Chips, dents, and minor surface damage are filled and sanded flat. This matters particularly on doors where the light rakes across the surface. Any imperfection left in the substrate will show through the final finish. We’re not covering up problems — we’re resolving them before paint goes anywhere near the surface.
5. Priming
The right primer is applied to the right substrate. Primer isn’t just an undercoat. It improves adhesion, evens out porosity across the surface, and gives the topcoats something consistent to bond to. On MDF edges in particular, priming is essential to prevent the paint from sinking unevenly into the raw material.
We use water-based, low-VOC products throughout — better for your home environment and for the quality of the finish. You can read more about low-VOC paint standards on the Which? guide to paint types.
6. Final Dust Removal Before Spraying
Immediately before spraying, every surface is wiped down with a tack cloth. Dust is the enemy of a fine spray finish. In our workshop, we control the environment. On-site, we mask and seal the kitchen area carefully to prevent dust migration during spraying.
What You Need to Do Before We Arrive
Very little. You don’t need to empty your cupboards. We handle all the preparation. It helps if you let us know about any existing damage or areas of concern so we can factor those into the assessment. Other than that, we manage everything from first visit to final coat.
How Long Does the Preparation Process Take?
Our average project takes around five days from start to finish, and preparation accounts for a significant portion of that time. A job that rushes prep to speed up the overall timeline is a job that will fail early. We don’t do that.
If you’re considering a kitchen respray and want to understand what’s involved for your specific cabinets, take a look at our kitchen respray service or get in touch on 0203 355 1495. We’re happy to talk through the process before you commit to anything.
We cover Surrey and South London, and we’ve been doing this since 2004. The preparation process I’ve described above is the reason our work holds up — and the reason we can offer a 10-year guarantee with complete confidence.
FAQ
Q: Do I need to empty my kitchen cupboards before a cabinet respray?
No. You don’t need to empty your cupboards. We remove the doors and drawer fronts and take them to our spray workshop. The carcasses — the fixed frames inside your kitchen — are sprayed in place, but because the doors are off, there’s no need to clear out the contents. It’s one of the practical advantages of how we work.
Q: Can kitchen cabinets be resprayed if they are chipped or damaged?
Yes. Filling and repairing surface damage is part of our preparation process. Chips, dents, and worn edges are addressed before any primer or paint is applied. In fact, a respray is often the ideal opportunity to restore cabinets that have seen some wear over the years. The key is that damage needs to be resolved at the prep stage — not painted over.
Q: How long does kitchen cabinet respray preparation take?
Preparation — cleaning, sanding, filling, and priming — typically spans the first one to two days of a project. Our average job runs around five days in total. The time given to preparation is directly proportional to the quality and longevity of the final finish. It’s not a stage we compress to save time.